3. Creating a class book - Designing
Viewing guide
Teacher to:
-
prepare the paper and cardboard for book creation, all students should create a paper draft regardless of whether their final copy will be created on paper or using ICT
-
organise resources like laptops or a camera if using ICT to create images or to lay out the book with scans or photographs of hand drawn images.
Teacher to:
-
remind students of the plan created with the previous activity if these lessons are being taught separately
-
reinforce the process needed to create interesting sentences using alliteration, adverbs and adjectives.
Students to:
-
write a number of sentences and rework them to add the best words to make the best sounding sentence
-
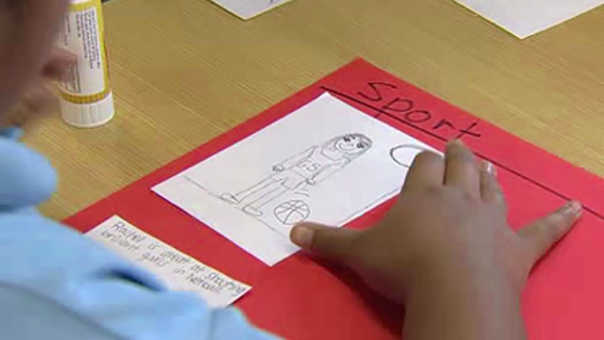
using paper and pencils create the sentence and image that align with the category and activities they chose in the previous session.
This lesson is designed to help students create and structure an interesting sentence and then illustrate the action and activity in their artwork. Depending on the class, students may need an explicit scaffold for creating their sentences or the support of a word bank to help them craft the most evocative sounding text.
Writing support
Suggestions for activities that students could undertake to improve their ability to create interesting sentences are included below:
-
SMART teaching strategies for using adverbial and adjectival phrases
-
Using nouns and adjectives to make sentences more appealing (Scootle activity using flash)
-
Munch boring sentences interactive (splash ABC activity using flash)
Learning intention
Completing this activity affords students the opportunity to:
-
compose, edit and present well-structured and coherent texts (EN3-2A)
-
draw on appropriate strategies to accurately spell familiar and unfamiliar words when composing texts (EN3-4A)
-
discuss how language is used to achieve a widening range of purposes for a widening range of audiences and contexts (EN3-5B)
-
use knowledge of sentence structure, grammar, punctuation and vocabulary to respond to and compose clear and cohesive texts in different media and technologies (EN3-6B).
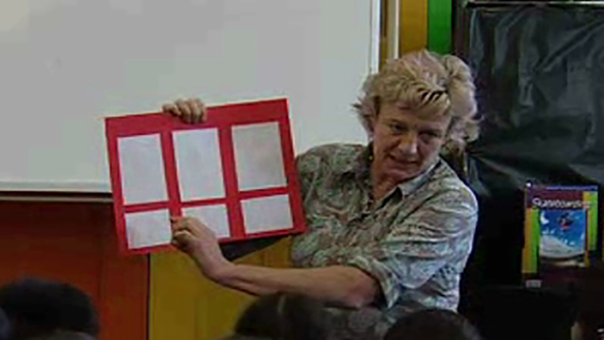
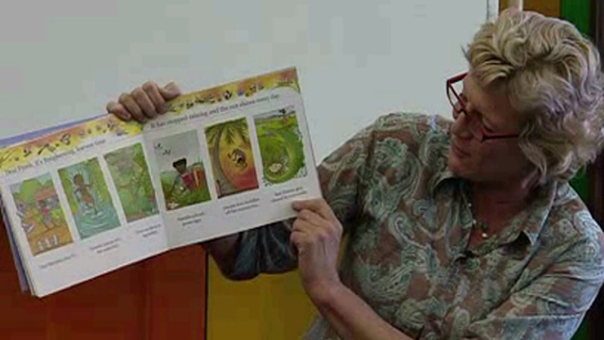
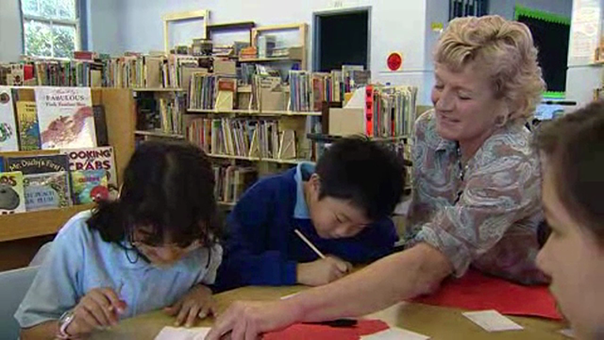
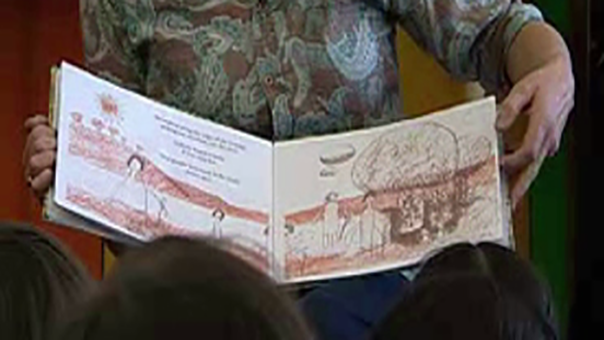
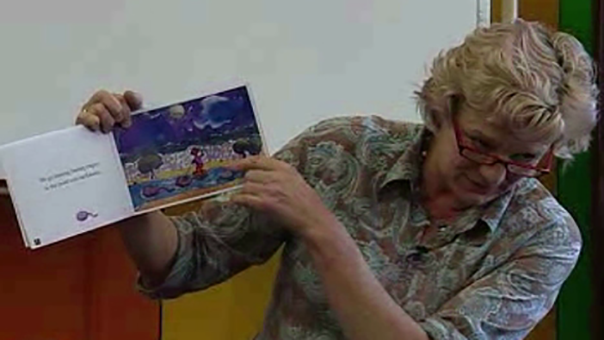
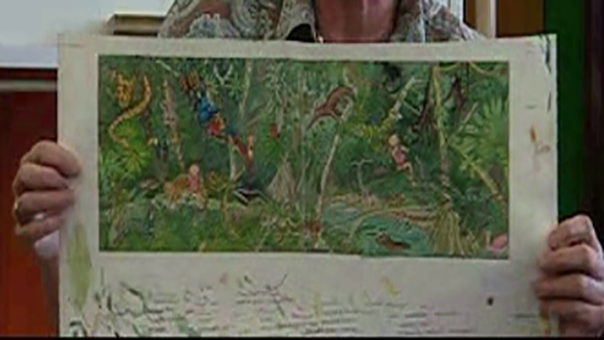
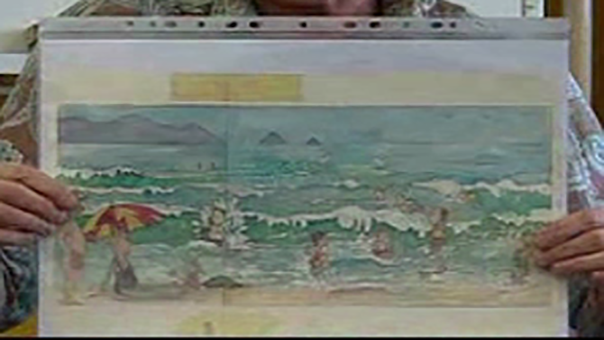
Alison Lester: If we use this, I guess I'd call it the framework, if we use it like this, if we have double-page spreads that've got six illustrations on them like that. And we've got sheets of paper, paper here. So we'll ... this is how our book will be laid out. So this would be a picture and then this would be the text, so all of you will do one. This is for your picture and this is for your words. It won't actually fit in the book if you do it that way so you have to do it landscape, which is sometimes tricky if you're doing a picture that needs to be spread out, so think about how you're going to fit it in. And this is for your words. When you write your words make sure you make your name part of the sentence. So I'd write, 'Alison loves riding her horse', or, you know, so you don't say 'I love ...' We want your name to be in the book so it is your book. And when you do your picture, you don't do a little squinched up one in one corner. See if you can really fill it all up. Draw and colour in like the wind. Let's get going.
Videos
1. Creating a class book - Introduction
2. Creating a class book - Planning
3. Creating a class book - Designing
4. Creating a class book - Drawing and writing
5. Creating a class book - Assembling
6. Making your own book - Telling real stories
7. Making your own book - Inspiration 1
8. Making your own book - Inspiration 2
9. Making your own book - Audience
10. Making your own book - Drafting
11. Making your own book - Characters