Preparation
Before you begin creating your artwork, experiment by making one or more designs for a centre square. As you do this:
- practise the skills required in the graphics program
- experiment with creating effective visual patterns.

|
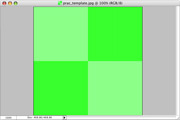 1 Open the practice template (optional) 
|
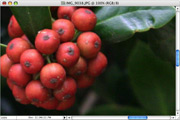 2 Open a suitable digital image 
|
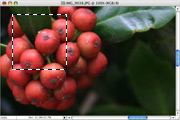 3 Select and copy an area of the image 
|
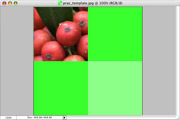 4 Insert the copied area into the template (or new document) and adjust 
|
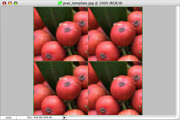 5 Replace the other template segments (or paste the image three times) 
|
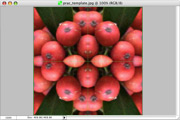 6 Select and flip three segments of the image so they mirror each other 
|
Create the design in Photoshop: PowerPoint slideshow (3.5 MB) or text only
Create the design in Paint (Windows only): Flash demonstrations or text only