Make an artwork using translucent fabrics and coloured thread.
Overlap pieces of translucent fabric to discover new colours and shapes.
What did you discover about the colours and shapes?
On a piece of white or very light coloured fabric arrange small squares of coloured, translucent fabric making new shapes. When you are happy with your arrangement, stitch through the layers to hold them in place.
Add additional stitching if you think it will make your work more interesting.
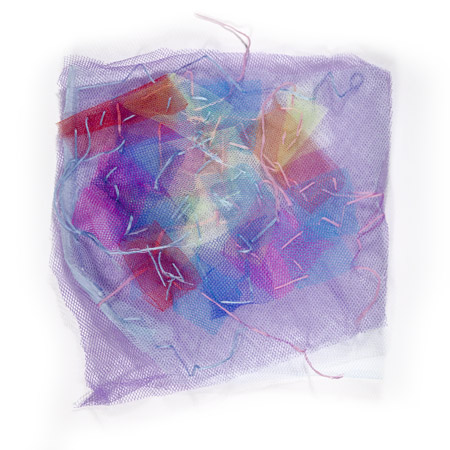
Sample artwork
You might want to digitise your fibre work and save it in a folder your teacher will create called ‘fibrework’.
-
Digitise your fibre artwork by scanning it or taking a digital photograph of it.
-
Save your digitised work or place a copy of it in the folder called ‘fibrework’. Save the image as a JPEG (.jpg) with your name, for example, james.jpg.
-
Edit your image if necessary, straighten it, crop it, or reduce its size.
-
Save the image again.
Open Microsoft PowerPoint and follow the steps below to make the class slideshow:
-
Create a blank slide in a new PowerPoint document.
-
In the Insert tab click on the Photo Album drop down menu and select New Photo Album.
-
Insert the digital images by clicking on the File/Disk button and browsing to the ‘fibrework’ folder.
-
Select the photos to be included in the photo album then click the Insert button.
-
Click Create in the Photo Album Box
-
In the Transitions tab choose a transition style (Transition to This Slide) and set the display time for the slides (Advance slide>After).